Ultimate Guide to How to Screenshot on a Computer Mac
For nearly two decades, I’ve worked as a Windows Senior System Administrator, specializing in Windows solutions since 2005. My focus has always been on managing Windows servers and writing guides to help other users. This blog is dedicated to sharing practical tips for tackling day-to-day Windows challenges.
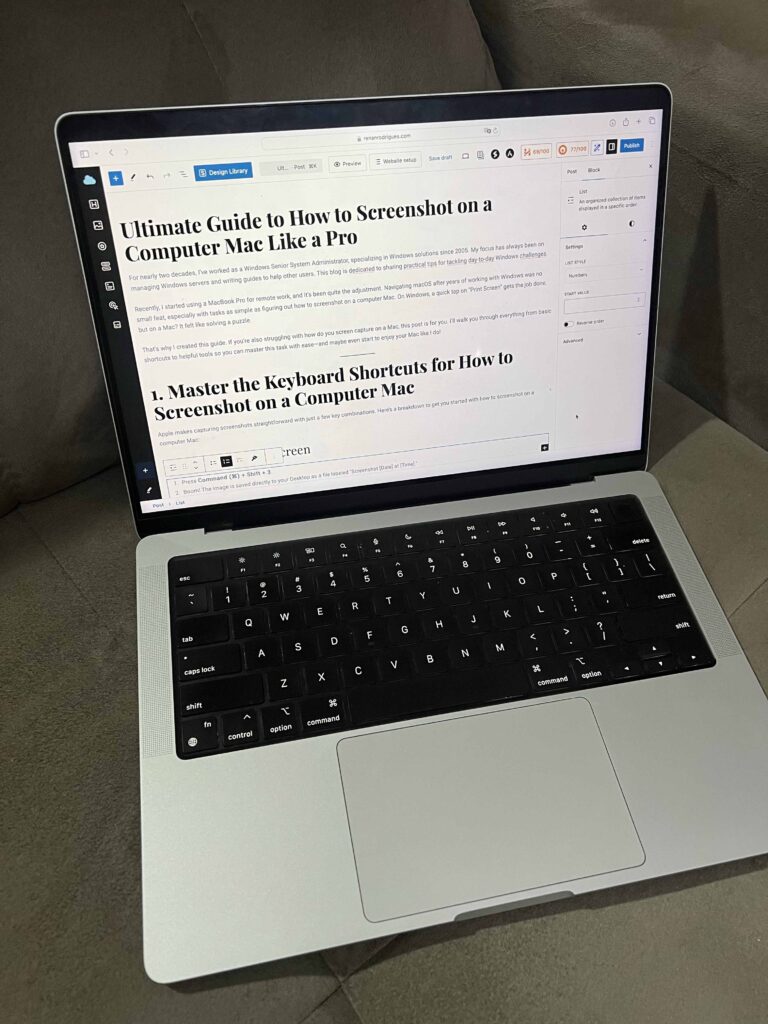
Recently, I started using a MacBook Pro for remote work, and it’s been quite the adjustment. Navigating macOS after years of working with Windows was no small feat, especially with tasks as simple as figuring out how to screenshot on a computer Mac. On Windows, a quick tap on “Print Screen” gets the job done, but on a Mac? It felt like solving a puzzle.
That’s why I created this guide. If you’re also struggling with how do you screen capture on a Mac, this post is for you. I’ll walk you through everything from basic shortcuts to helpful tools so you can master this task with ease—and maybe even start to enjoy your Mac like I do!

1. Master the Keyboard Shortcuts for How to Screenshot on a Computer Mac
Apple makes capturing screenshots straightforward with just a few key combinations. Here’s a breakdown to get you started with how to screenshot on a computer Mac:
Capture the Entire Screen
- Press Command (⌘) + Shift + 3.
- Boom! The image is saved directly to your Desktop as a file labeled “Screenshot [Date] at [Time].”
This option is great when you need everything on your screen captured in one go.
Capture a Selected Area
- Press Command (⌘) + Shift + 4.
- Your cursor will transform into a crosshair.
- Click and drag to select the area you’d like to capture. Release the mouse or trackpad, and voilà—the image is saved to your Desktop.
Use this when you need just a snippet rather than your entire screen.
Capture a Specific Window
- Press Command (⌘) + Shift + 4.
- Then, hit the Spacebar. Your cursor will transform into a camera icon.
- Click on the window you want to capture. It even keeps the beautiful drop shadow for that extra aesthetic touch Apple is known for.
This is particularly handy when you’re sharing specific app windows without distractions.
Alternate Save Location with Copy-Paste
By default, screenshots save to your Desktop, but here’s a trick to copy it directly to your clipboard instead:
- After pressing any of the above shortcuts, add the Control (Ctrl) key to the combo (e.g., Command + Shift + Control + 3).
- Once copied, paste the screenshot wherever you like using Command (⌘) + V—perfect for emails or document editing without cluttering your Desktop.
2. How to Screenshot on a Computer Mac Using the Screenshot Toolbar
For those who want even more control, macOS has a built-in screenshot toolbar. Here’s how to access it:
- Press Command (⌘) + Shift + 5.
What makes the toolbar magical?
- You can choose between capturing the full screen, selecting an area, or grabbing a specific window.
- It includes screen recording options, letting you capture video clips instead of still images.
- You can specify screenshot save locations, set timers, and even hide your cursor from appearing in the captures.
Want More? Try the Extra Features
The toolbar isn’t just about capturing what’s in front of you—it’s about doing it your way. Here’s what else you can do:
- Record Your Screen: Switch from snapshots to live recordings. Choose a full-screen or selected-area recording for tutorials, demos, or capturing your favorite moment in a video.
- Set a Timer: Need a few seconds to prep? Use the timer to delay the screenshot and give yourself some breathing room.
- Choose Save Location: Direct your screenshots straight to your Desktop, a folder, or even your clipboard—whatever works for you!
The beauty of the Screenshot Toolbar lies in how user-friendly and visual it is. If you’re still figuring out how to screenshot on a computer Mac, this tool makes the process intuitive without needing to memorize a bunch of shortcuts. Give it a try—it might just become your favorite capture method!
3. Advanced Screenshotting with the Grab App
For advanced users who need scheduled captures or detailed cursor images, the Grab app comes to the rescue.
Grab is pre-installed on macOS and offers some cool features.
How to Use Grab
- Open Grab via Spotlight (Command + Space, then type “Grab”).
- Choose your capture mode from the toolbar:
- Selection: Select a specific region of your screen.
- Window: Capture a specific window.
- Screen: Snap the entire screen.
- Timed Screen: Set a timer to capture your screen after 10 seconds—great for arranging something before the screenshot.
While Grab isn’t as popular now due to the Screenshot Toolbar, it’s still useful for niche needs like timed captures.
4. Explore Third-Party Tools for How to Screenshot on a Computer Mac
If the built-in options don’t quite meet your needs, third-party apps can truly turbocharge your Mac’s screenshot capabilities. These tools come with advanced features for editing, organization, sharing, and even customization, and it’s sure to change the way you think about how to screenshot on a computer Mac. Here’s a detailed look at some top-rated options:
Snagit
Snagit is a powerhouse when it comes to taking screenshots. Designed for professionals, it offers extensive editing tools and unique features like the ability to capture scrolling screens (yes, that entire webpage or long chat!). You can easily add annotations, arrows, or text to your captures, making it perfect for presentations, tutorials, or guides.
Why Choose Snagit?
- All-in-one app for capturing and editing.
- Scrolling capture for full-length pages.
- Clean, polished visuals for professional use.
Try Snagit if you’re looking to make your screenshots look sharp and ready to present.
Lightshot
Lightshot is a more lightweight option perfect for those who prefer speed and simplicity. It focuses on allowing you to capture, edit, and share instantly. Select any area of your screen, add quick annotations, and share with just a few clicks.
Why Choose Lightshot?
- Very intuitive and user-friendly.
- Quick sharing via URL or social platforms.
- Small and fast app, ideal for everyday use.
If you want fuss-free screenshots without the bells and whistles, Lightshot is your go-to.
ScreenFlow
ScreenFlow is much more than just a screenshot tool—it’s a screen recording and editing suite. Perfect for content creators, it allows you to capture screenshots while recording your entire screen. You can seamlessly integrate these screenshots into video tutorials, product walkthroughs, or training materials.
Why Choose ScreenFlow?
- Combines screen recording and screenshot tools.
- Advanced video editing capabilities.
- Great for educators and digital creators.
Consider ScreenFlow if you need both screenshots and professional-level video functionality.
Monosnap
Monosnap is the Swiss Army knife of screenshot tools. Not only can it capture screenshots, but it also supports screen recordings and GIF creation. Plus, it’s excellent for organization, letting you sync to cloud platforms like Google Drive or Dropbox.
Why Choose Monosnap?
- Flexible screenshot and recording options.
- Cloud integration for seamless storage and sharing.
- Options to blur sensitive information.
Monosnap is a smart pick if you need comprehensive features along with storage solutions.
Which One Should You Pick?
Still unsure which app to choose? Think about your priorities!
- Need advanced editing and polish? Go for Snagit.
- Prefer easy sharing and lightweight functionality? Choose Lightshot.
- For heavy-duty screen recording and tutorials, ScreenFlow has you covered.
- Looking for something free? Give Monosnap a try.
Each tool shines in its own unique way, so there’s bound to be one that fits your workflow. I personally have tried Snagit and liked it; it gives me more options and a way of working that fits my needs; however, the default MacOS one already meets my basic day-to-day needs.
5. Organizing and Sharing Your Screenshots
Congratulations! You’ve mastered Mac screenshot techniques. But now you’re probably wondering, How do I keep them all organized?
Pro Organizational Tips
- Use folders. Create a dedicated “Screenshots” folder to keep your Desktop clutter-free.
- Rename screenshots. Giving files meaningful titles will save you time later.
- Leverage macOS tags. Add color tags like “Work,” “Personal,” or “Tutorials” for easy categorization.
Wrapping Up
Switching from Windows to Mac was like learning a new language for me—exciting, but full of moments where I thought, “Is there an easier way?” Figuring out how to screenshot on a computer Mac was one of those challenges, but once I got the hang of it, I couldn’t imagine going back. Whether you’re using keyboard shortcuts, the Screenshot Toolbar, or exploring third-party tools, there’s a solution for everyone.
Need more tips or favorite apps? Share your experience in the comments—and don’t forget to share this guide with fellow Mac users who might still be hunting for the Print Screen button!
Check out more similar articles below:
How to Migrate Files to SharePoint Online: 2025 Ultimate Guide
How to Migrate Files to SharePoint Online: 2025 Ultimate Guide Migrating your file shares to…
How to Configure App Protection Policies in Microsoft Intune
How to Configure App Protection Policies in Microsoft Intune In today’s business landscape, safeguarding sensitive…
Azure Cloud Migration for Beginners: A Practical 2025 Guide
Azure Cloud Migration for Beginners: A Practical 2025 Guide Moving your business to the cloud…
Ultimate Guide to How to Screenshot on a Computer Mac
Ultimate Guide to How to Screenshot on a Computer Mac For nearly two decades, I’ve…
SharePoint Site Building: A Complete Walkthrough for Your First Collection
SharePoint Site Building: A Complete Walkthrough for Your First Collection It is not very easy…
How to Enable MFA on Microsoft 365 for Better Security
How to Enable MFA on Microsoft 365 for Better Security Cybersecurity threats are on the…


